
Guide: Why and how to change the laser lens on your engraving machine?
Discover how laser lenses can improve engraving or cutting quality & productivity.
Frequently underestimated, your laser's lens actually has a decisive impact on the cutting & engraving quality.
Changing laser lenses enables you to shape your engraver's laser beam according to certain properties.
With this guide, discover the effects of your lens on your laser beam, and determine which lens is the best answer to your application.
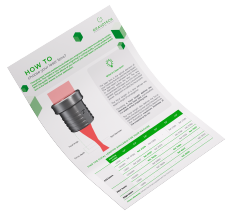
|
Get our expert guide on how to choose laser lenses! |
|---|

What is a laser lens?
WHAT?
The laser lens is the optical element of your machine that focuses the laser beam. The laser beam is between 8 and 10mm in diameter before the lens. The lens concentrates the beam at a thin point for greater precision and more concentrated power. This point is called the focal point.
The focal length of a lens defines the beam's angle of convergence.
WHY?
Choosing a focal length defines the diameter of the laser spot and therefore the width of the engraving line.
The focal length also defines the focus depth, the distance over which the beam is considered to be focused.This determines the theoretical maximum thickness of the material to be cut.
Our must-have laser lenses

Lens 1.5"
Precision and sharpness
Perfect for: precision engraving, detailed ink stamps, precision cutting on thin materials, high-resolution photos and logotypes (>800DPI).
Not suitable for: cutting thick materials (>3mm) and large engraving areas
| Laser beam properties | |
|---|---|
| Spot diameter (mm) | 0.06 |
| Focus depth (mm) | 0.5 |
| Focal lengh (mm) | 37.5 |

Lens 2.0"
Multi-purpose
Perfect for: engraving and cutting of 2-ply plastics, engraving of letters (>1mm high) and medium-resolution photos and logotypes (<500DPI)
Not suitable for: precision engraving or cutting of thick materials (>8mm)
| Laser beam properties | |
|---|---|
| Spot diameter (mm) | 0.08 |
| Focus depth (mm) | 0.8 |
| Focal lengh (mm) | 50.0 |

Lens 4.0"
Thick cutting and fast engraving
Perfect for: cutting of thick materials (<25mm), engraving of large characters or large areas, engraving of objects with hollow or irregular surfaces, or low-detail designs (<200DPI)
Disadvantages: Low resolution and wide cutting lines
| Laser beam properties | |
|---|---|
| Spot diameter (mm) | 0.16 |
| Focus depth (mm) | 3.3 |
| Focal lengh (mm) | 100 |
Other focal lengths are available
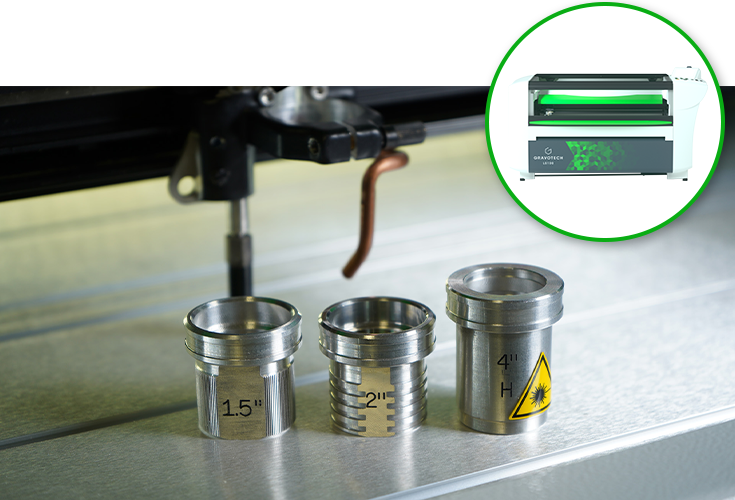
Check out all the laser lenses for the LS series. |
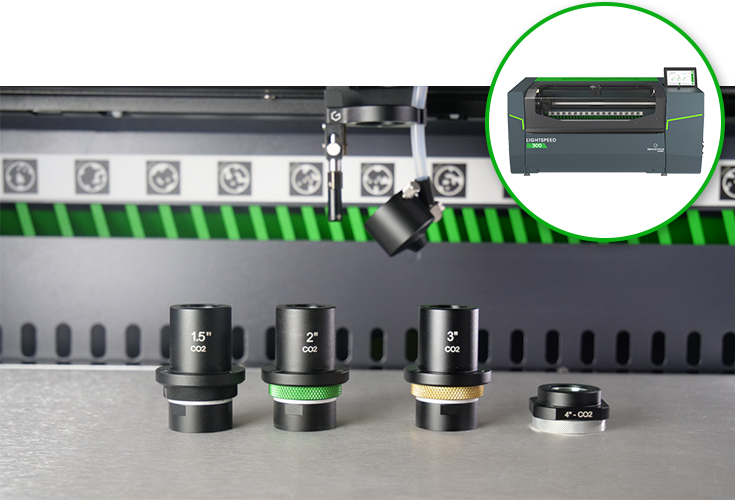
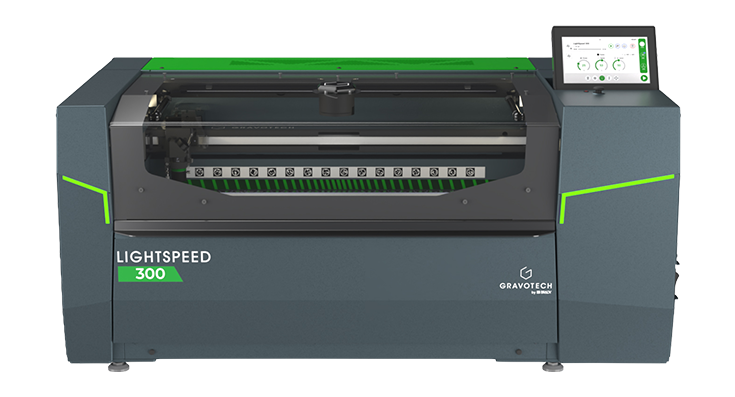
Discover the Click Lens concept for the LightSpeed 300. |
Engraving comparison
See below how the lenses perform on an ultra-detailed wood engraving.

1.5" engraving
The most detailed and accurate engraving

2.0" engraving
A fine result, but some small details are missing

4.0" engraving
A rough engraving that looks blurred
Cutting comparison
This is a comparison of the lenses on a slice of 10mm thick acrylic sheet.

1.5" cutting
A wave-shaped cut

2.0" cutting
A slightly angled cutting edge

4.0" cutting
A totally straight cut
How to calibrate your laser machine to your new lens?
The calibration process for your lens depends on your machine:
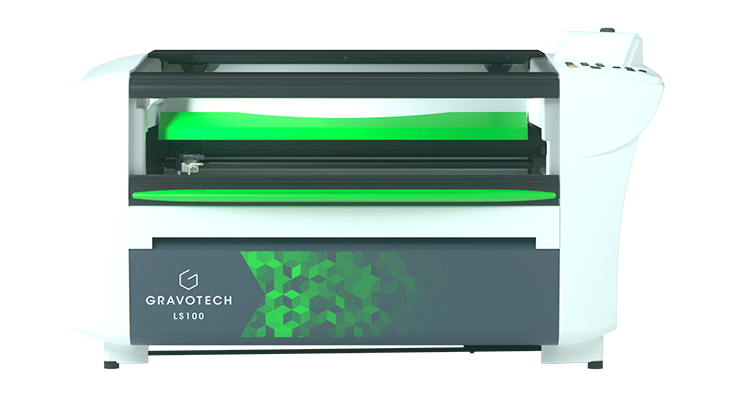
Calibration process for LS range

1. Save your actual configuration and replace the lens
First, launch our driver's interface by opening your machine's printing preferences on your computer.
In the "machine" tab, back up your current settings by clicking on the "Send to computer" button.
Then, unscrew the fleece screw to remove your current lens and attach your new lens in its place.


Calibration process for LightSpeed
The lens calibration process for the LightSpeed 300 is essentially the same as for the LS range. However, the LightSpeed 300 features a built-in interface that guides the user step by step directly on the machine's screen.
All calibration parameters are also stored in the machine, allowing it to save multiple settings for different focal lengths.


How to clean your laser lens and why it matters
Regularly cleaning your laser lens is essential to maintain consistent engraving and cutting quality, preserve the power of the laser beam, and prevent damage caused by dust, smoke, or material residues.
The cleaning frequency depends on how intensively the machine is used and the materials being processed, but it is recommended to check the lens at least once a week, or more often for heavy use or materials that generate a lot of smoke.
For safe and effective maintenance, Gravotech offers the Lens cleaner kit, which includes a lens cleaning solution, suitable wipes, and cotton swabs.
Ref.26327
|
|
Get our expert guide on how to choose laser lenses! |
|---|